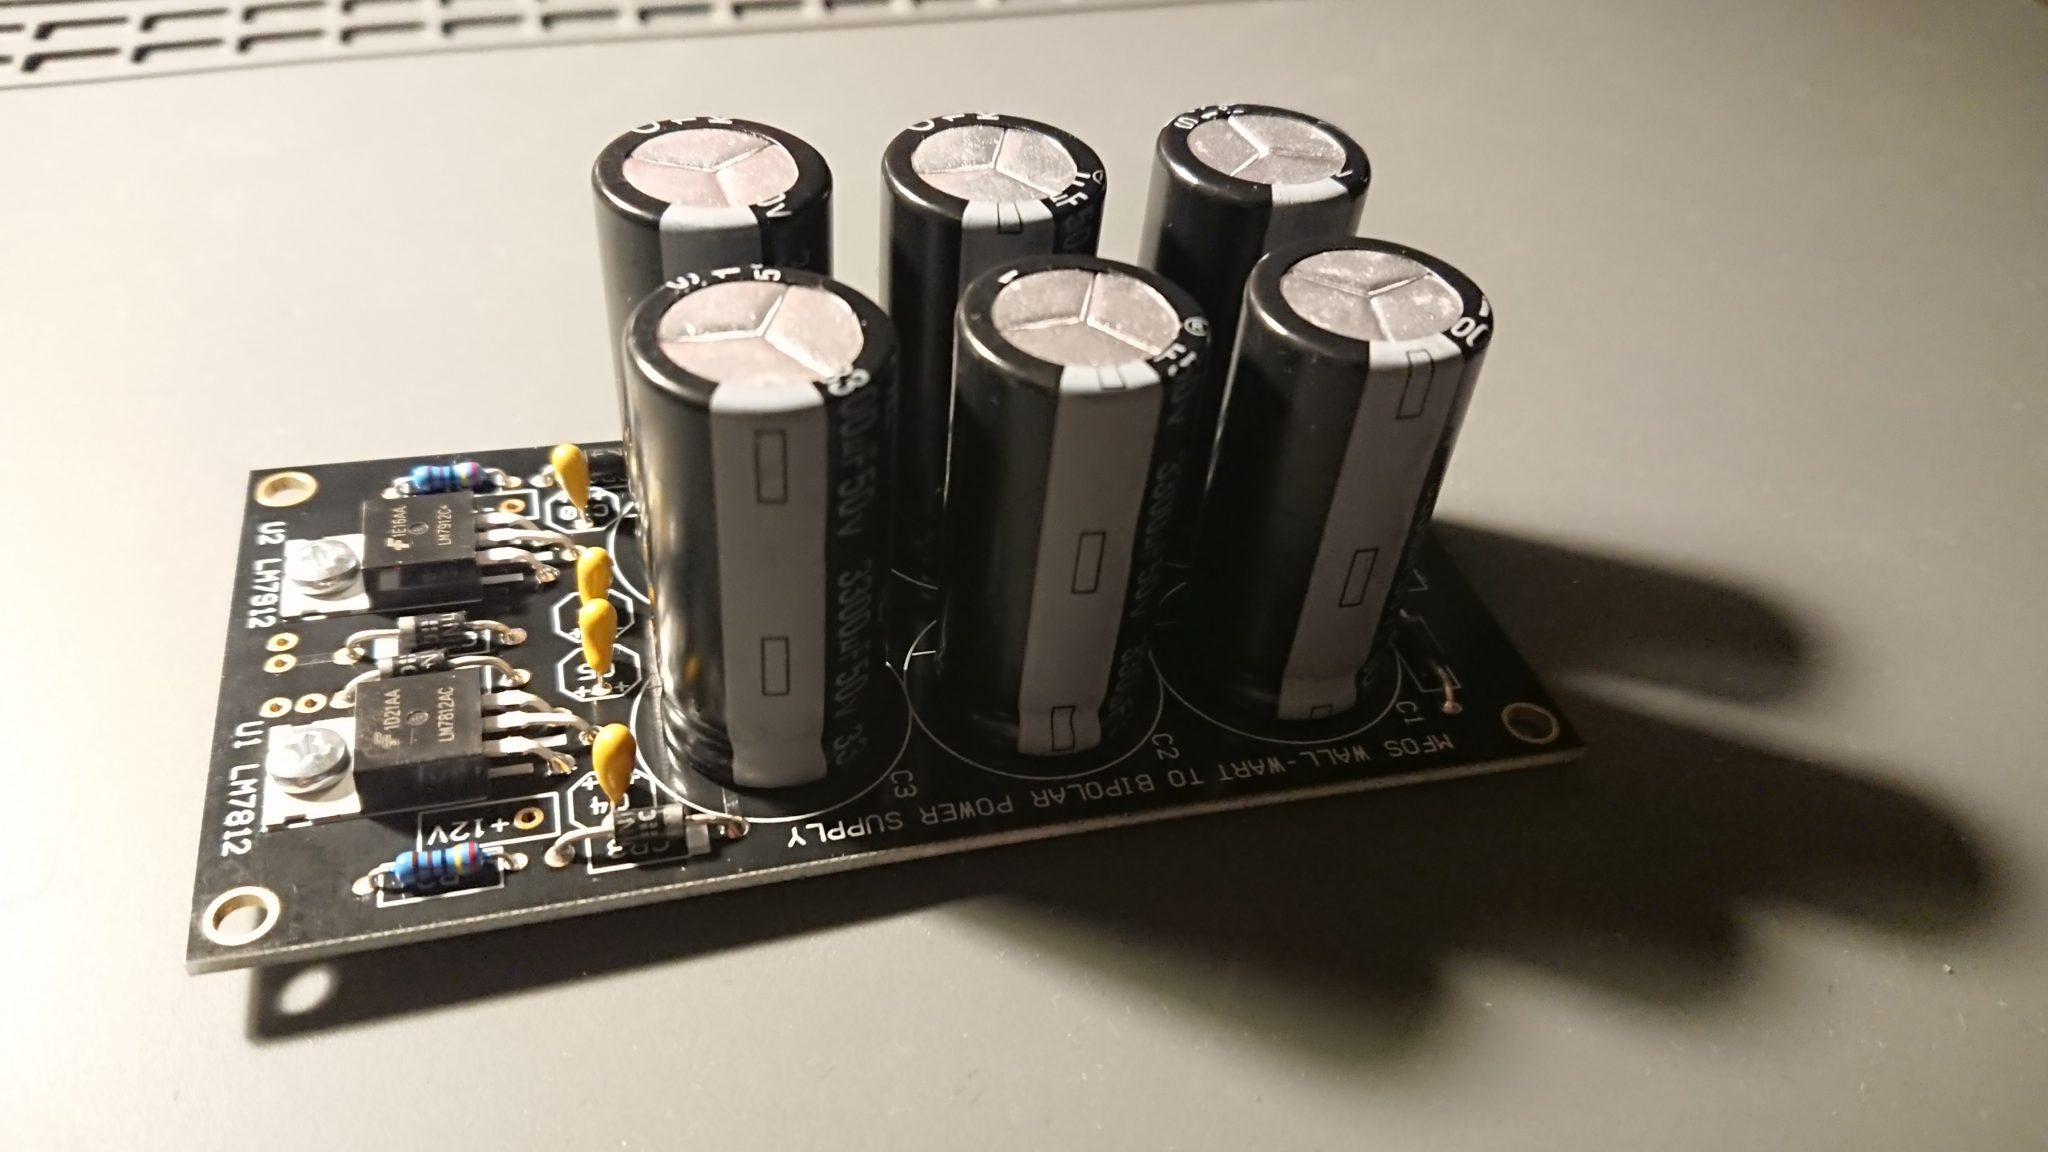
The supply that powers the +/- 12v rails is done! I think I’m about 1% of the way there.
Posted by Kristian Golding on August 16, 2020
The supply that powers the +/- 12v rails is done! I think I’m about 1% of the way there.

Posted by Kristian Golding on August 11, 2020
This arrived in the mail today from Synthcube
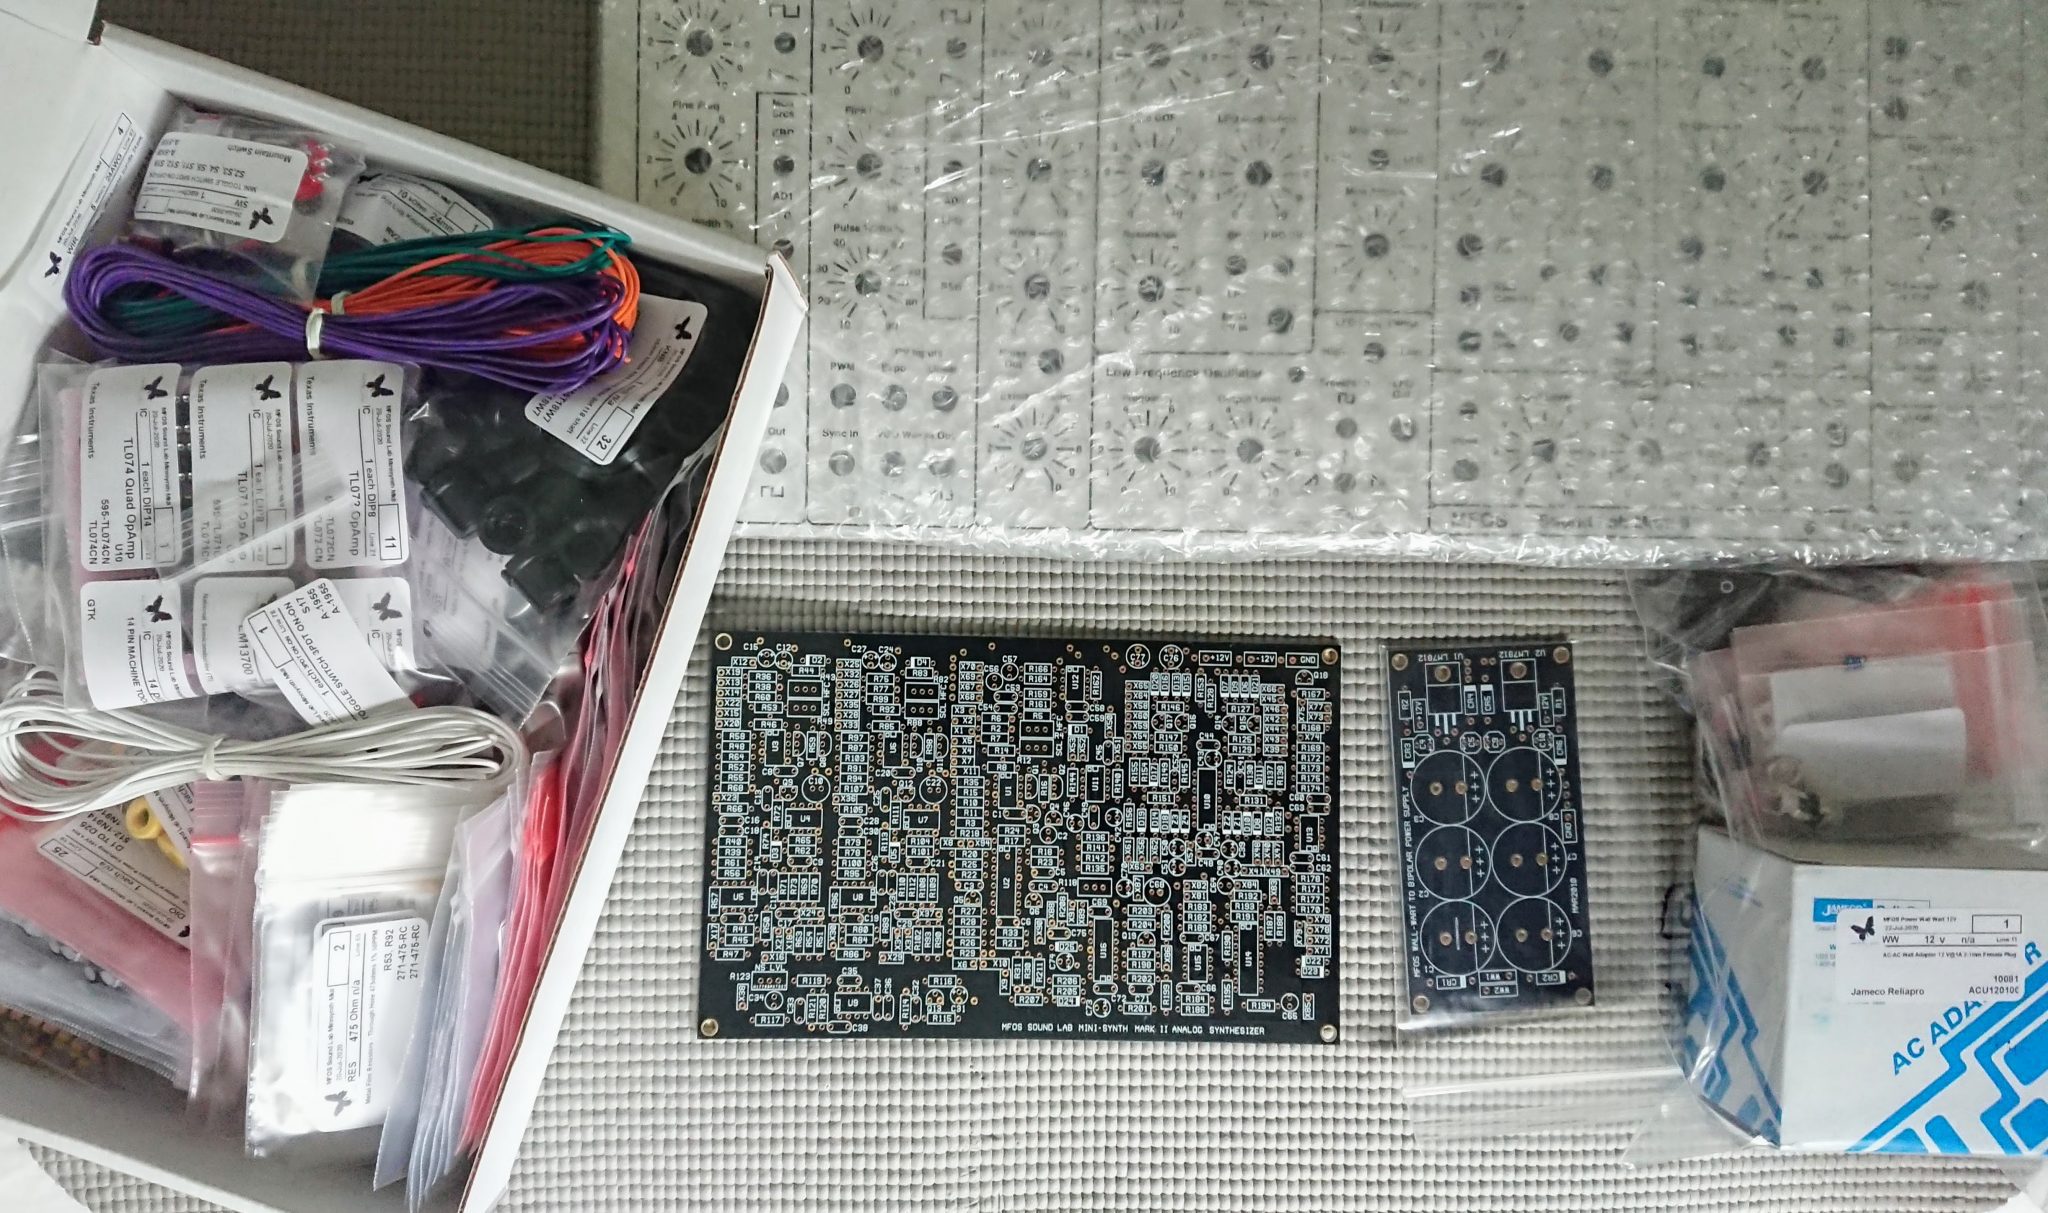
It is the Music From Outer Space (MFOS) Sound Lab Mini Synth Mark II, an analog synth from the great late Ray Wilson. There is quite a lot of involved soldering – though I did do more soldering back in the days when I was constructing the Electronics Australia Playmaster series of pre-/subwoofer/stereo amps, but it actually looks like the wiring to all the pots/plugs may be the killer.
I decided to buy this after going down an analog synth hole in Youtube recently (spurred on by the excellent DIY synth videos by Moritz Klein). I can’t wait to get started, but will have to ease myself into it by building the power supply first. Eventually I’ll have to build a housing for it, and am on the fence between staining plywood or using walnut hobby board. A great project though for these socially isolated times!
Posted by Kristian Golding on July 14, 2020
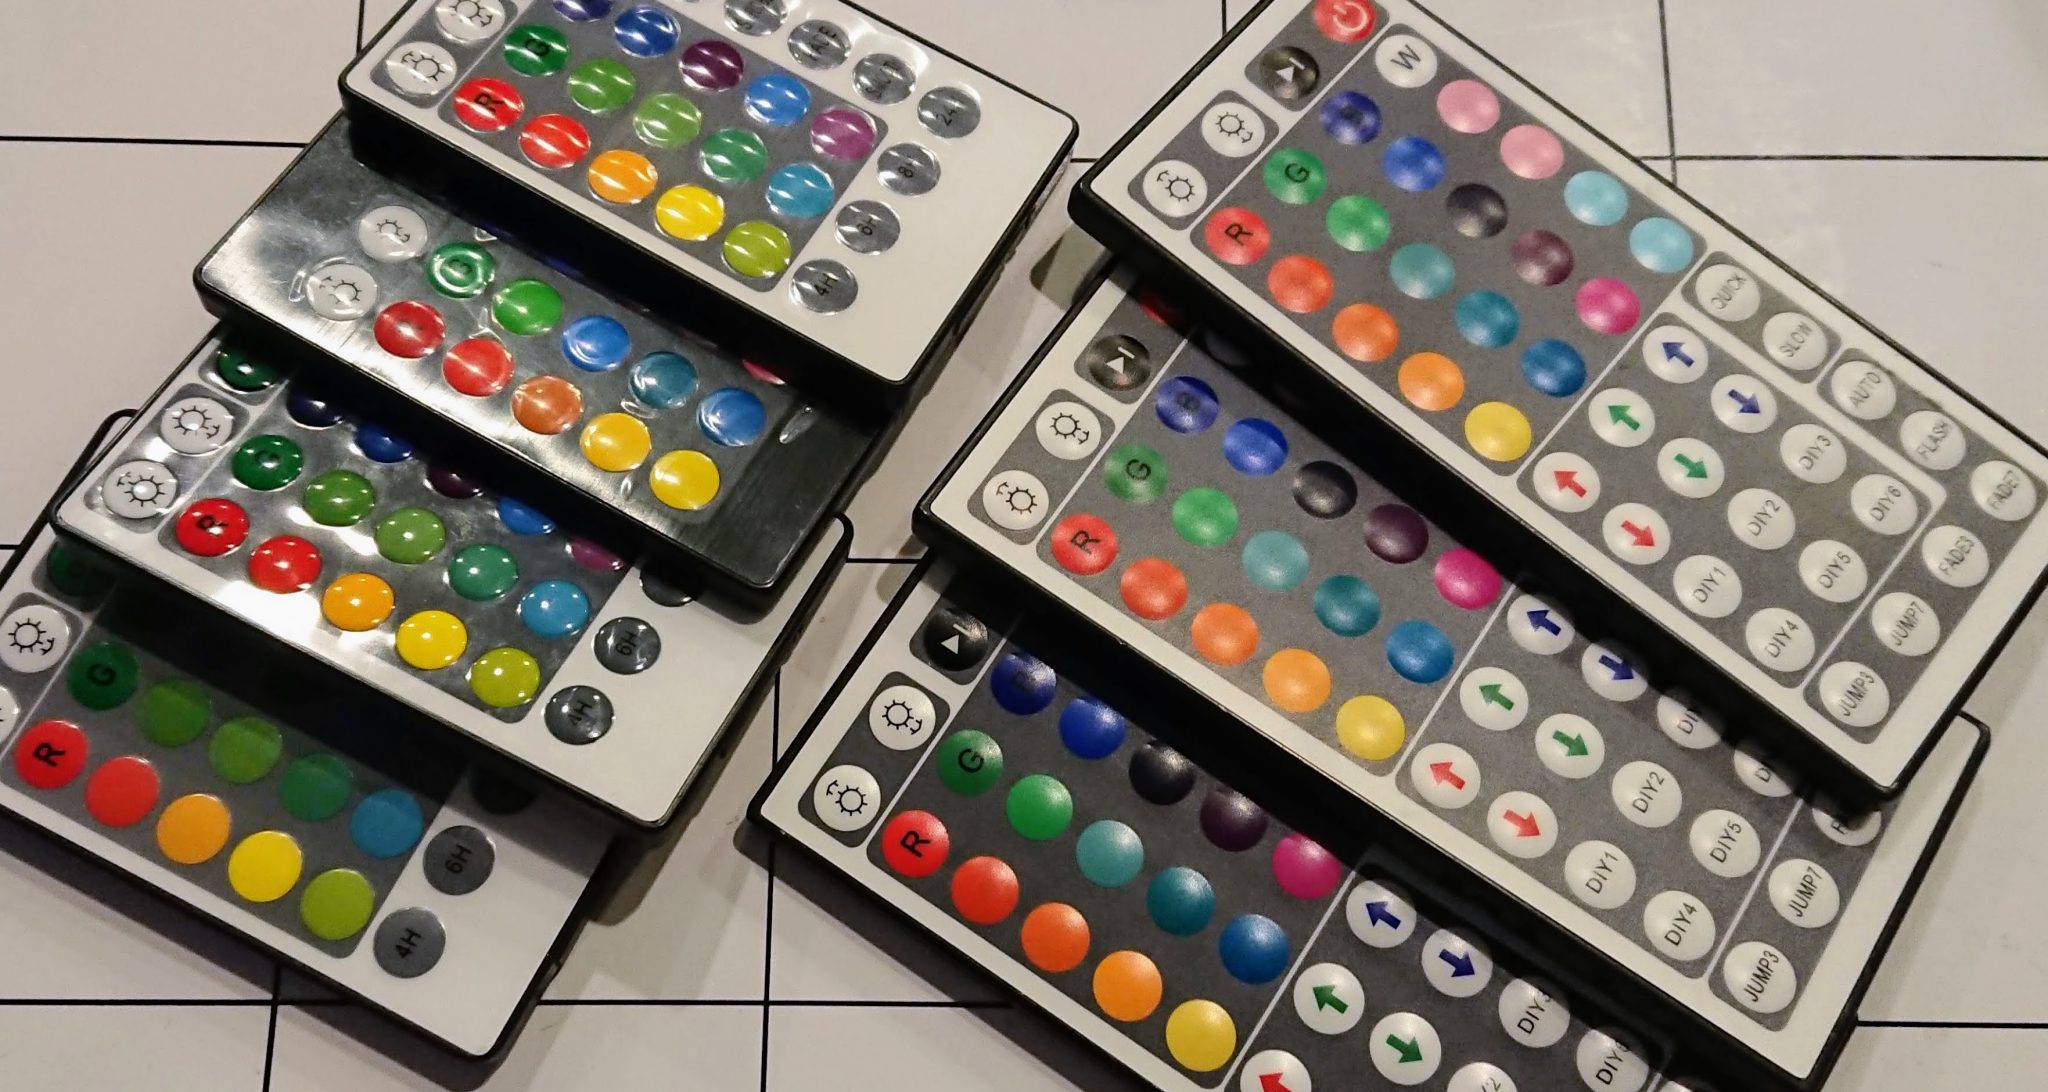
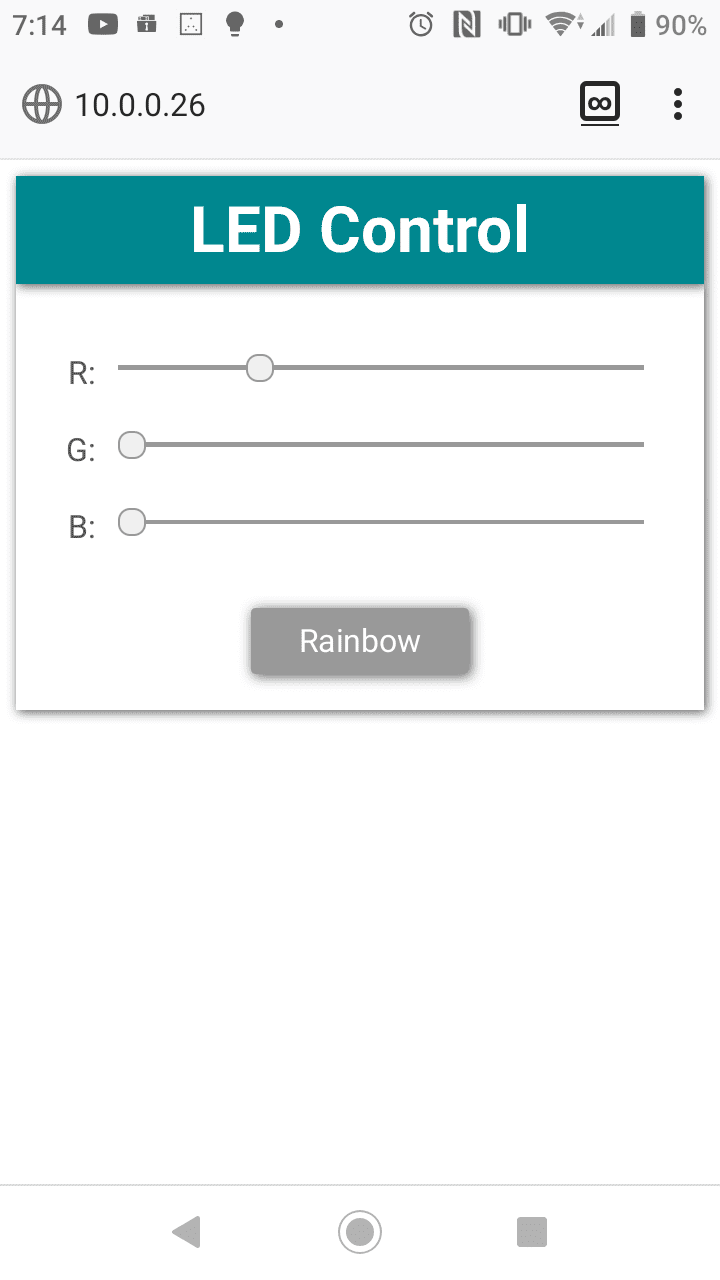
I had a sizable pile of infra-red RGB controllers that came with every RGB LED strip I’ve ever purchased. Still, one was never around when I needed it, and the transmission range was so small that I’d have to move closer to the LED strip to change the color anyway. Finally, there were really only a few unique colors – most looked the same as the next. I decided to instead replace the RGB LED PWM generator with an ESP8266 (as a NodeMCU) that I could control via a web interface from my phone.
For the code I found this excellent resource: https://tttapa.github.io/ESP8266/, in particular, I took the Chapter 14 example and made some updates to support the LittleFS file system (the only change that’s absolutely required is the SSID and password for your WiFi access point): https://github.com/daecks/ESP8266/tree/master/Examples/14.%20WebSocket/A-WebSocket_LED_control
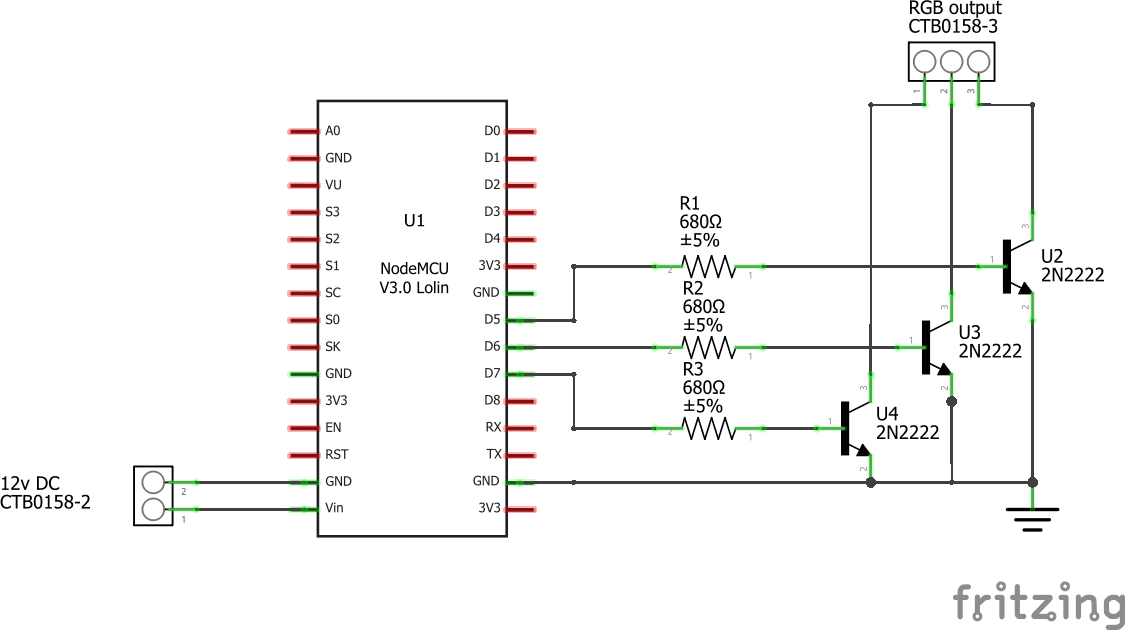
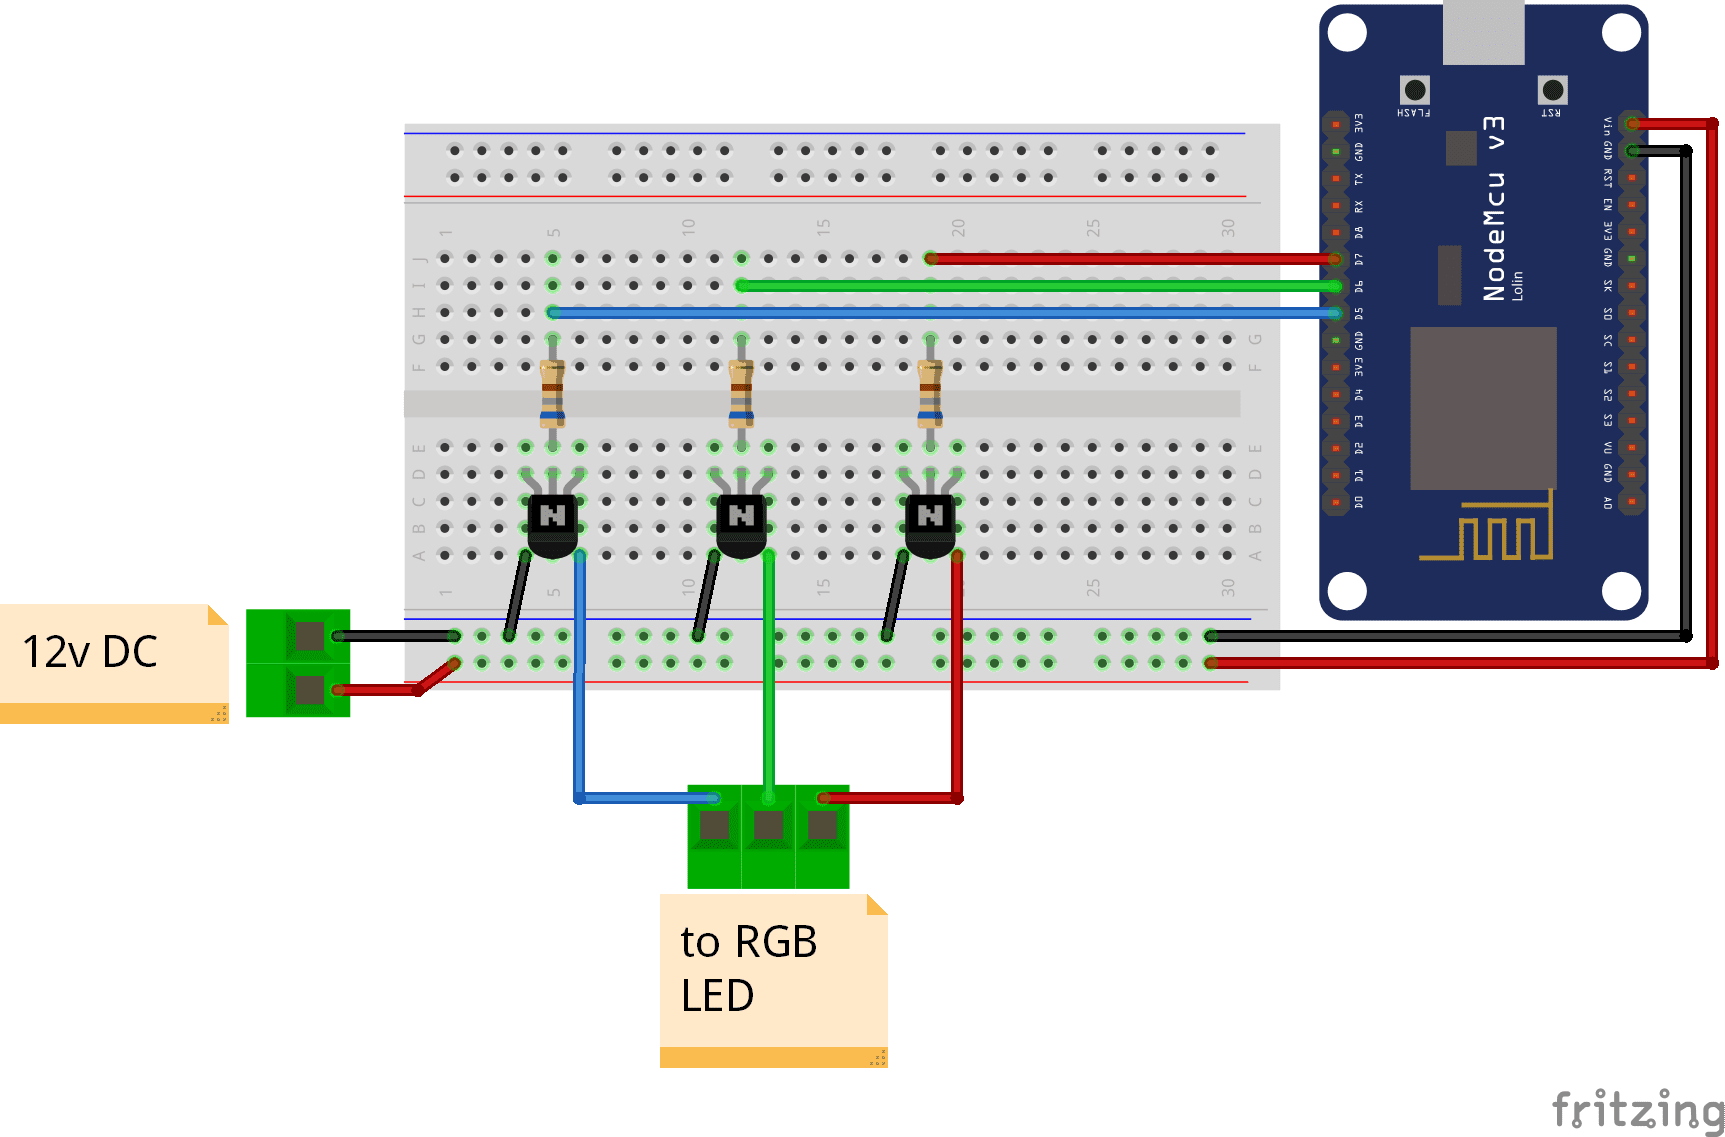
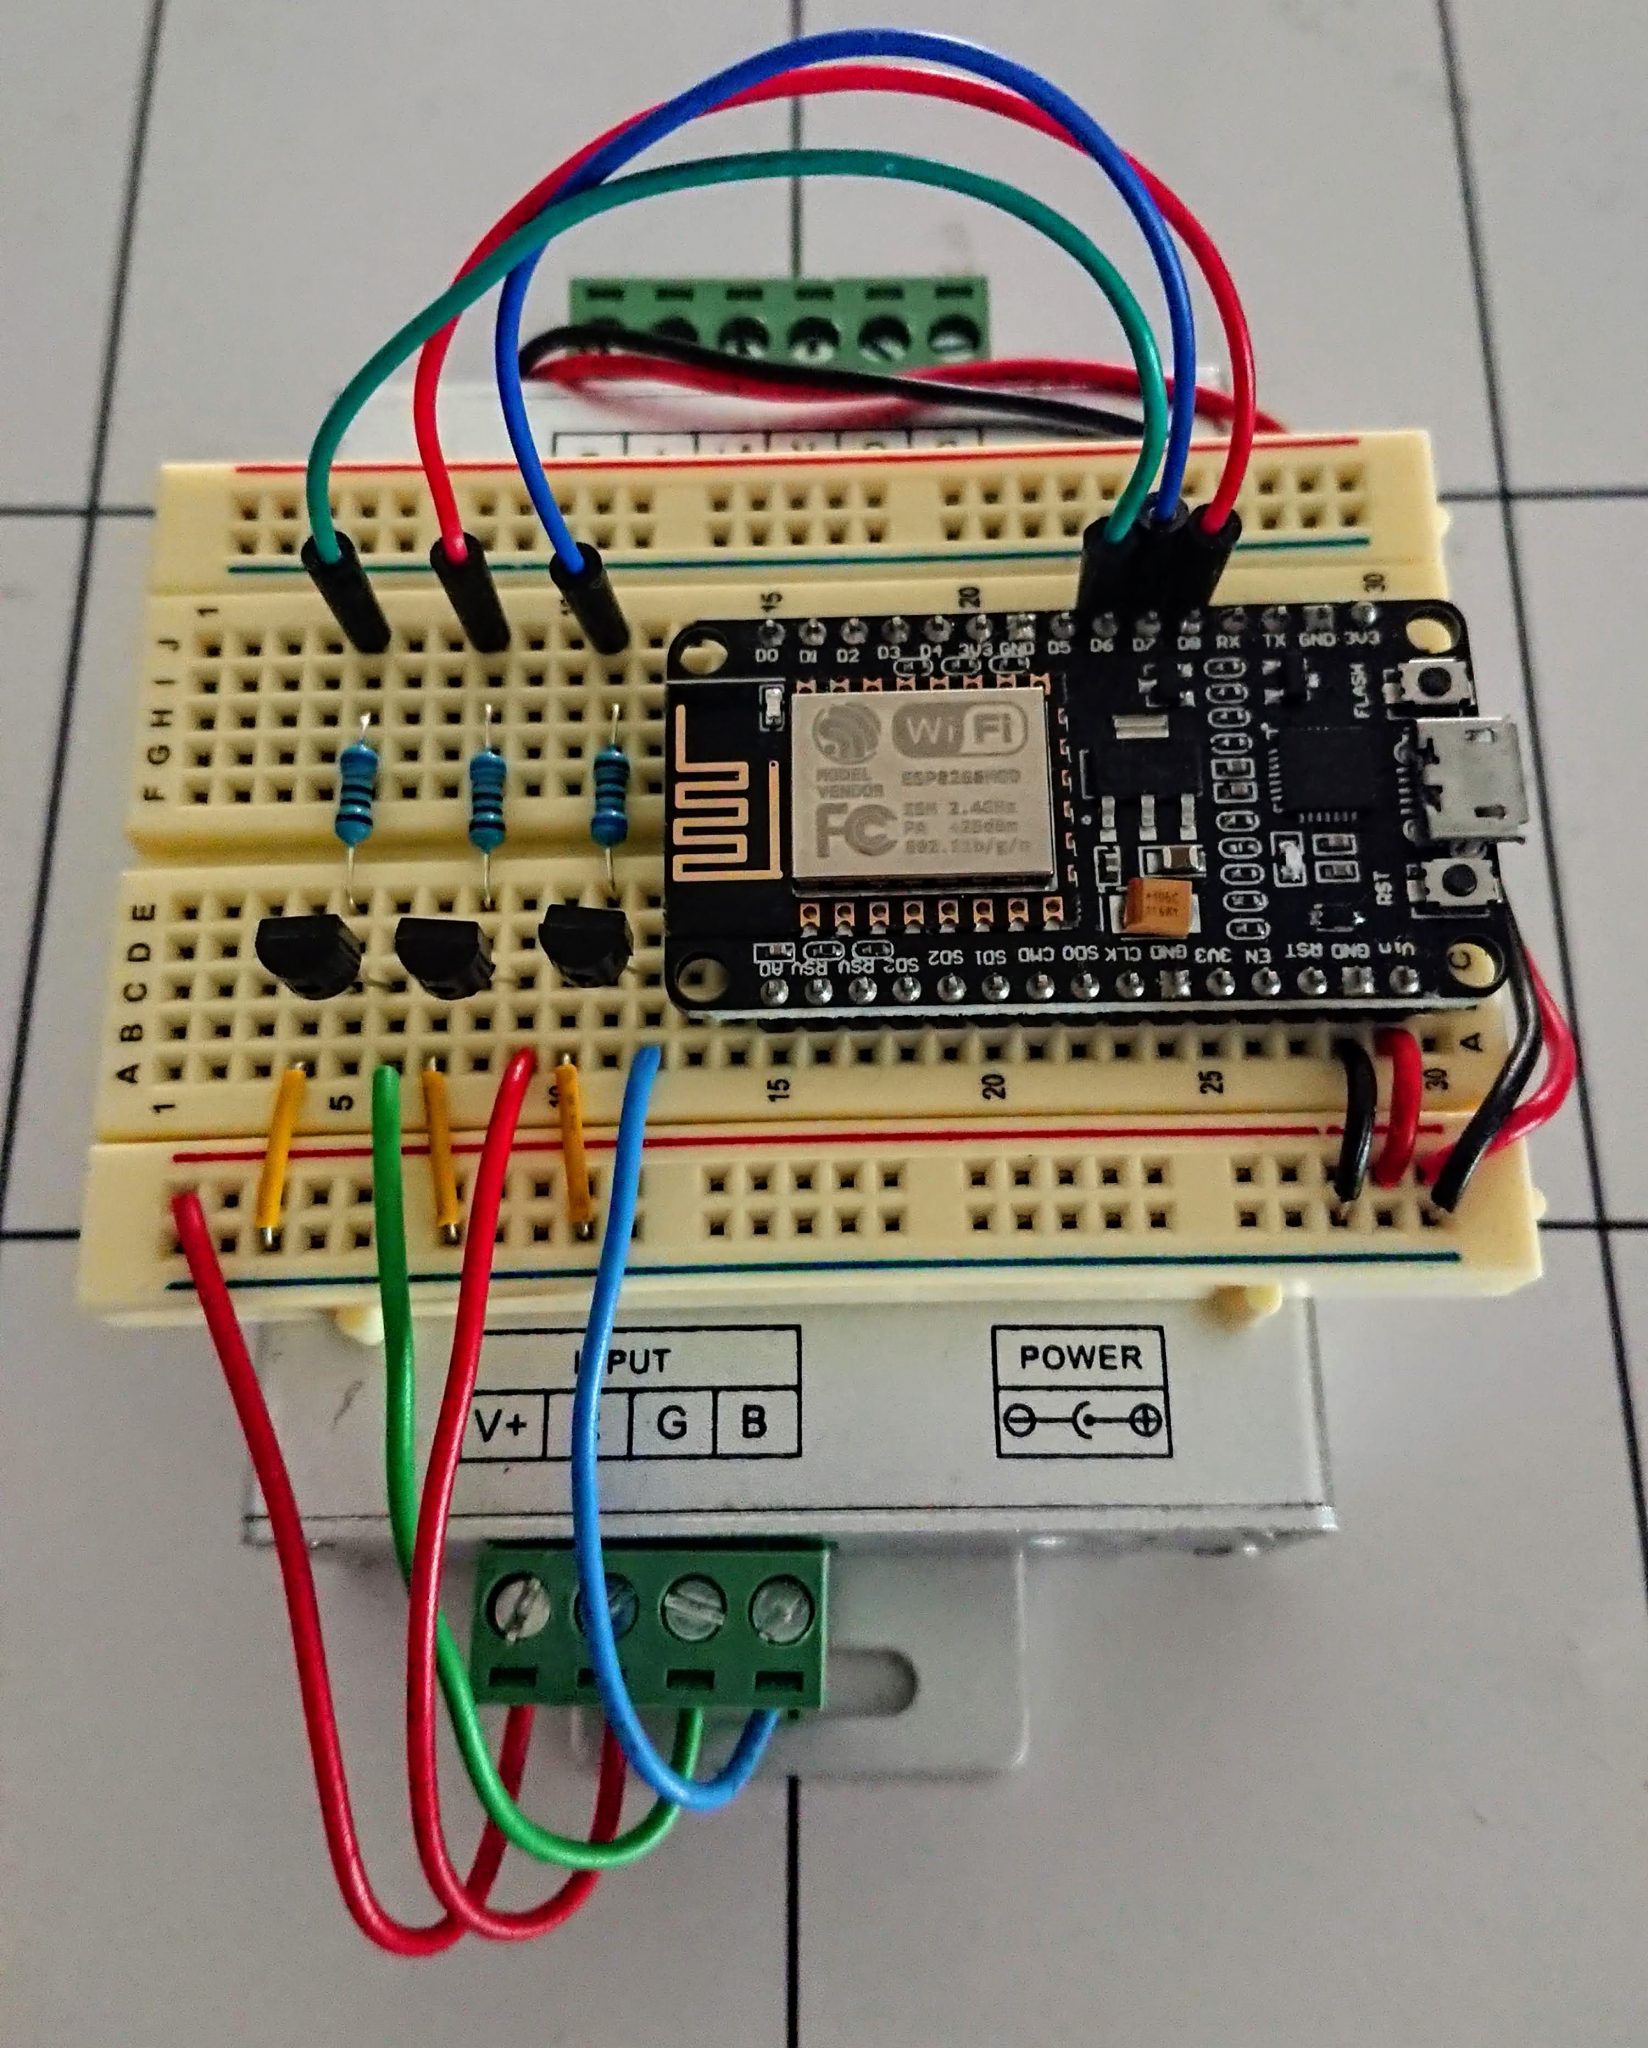
Given that I had a couple of RGB signal boosters, I did not need to use high-current MOSFET transistors to drive my 15-foot LED strips, and instead I chose to use 2N2222 NPN transistors because I have an ample amount of them. The RGB LEDs in the strips are SMD 5050s, which are rated at 60 mA per LED channel. The strips come with their own resistors, so all that’s needed is to drive the NPN transistor with the correct base current.
To have the transistor act as a PWM switch, the recommendation is to have the collector-emitter current be 15-times that of the base current, meaning my base current would be (current per LED / 15) = (60 / 15) = 4 mA, which the ESP8266 can handle (the limit is 12 mA per pin). The voltage output of a ESP8266 GPIO pin is 3.3 volts, and the voltage drop across the transistor is ~ 0.7 volts, so given this and Ohms law, I could determine the base resistor to use: V = IR, R = V/I, R = (ESP8266 voltage – transistor drop)/ 4mA = (3.3 – 0.7/ 0.004) = 650 Ohms. The closest resistance value to this is 680 Ohms, so I went with that.
References